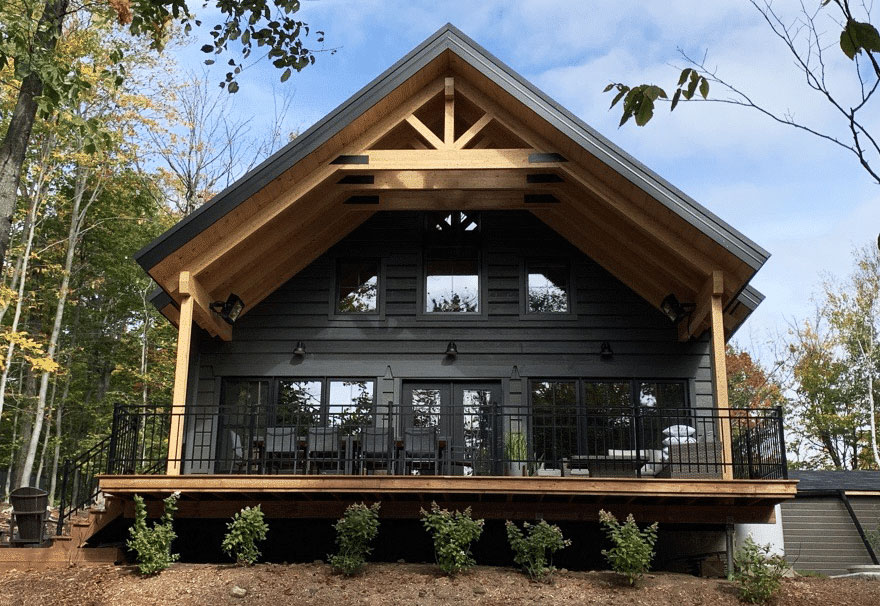

It’s important to remember the proper methods for applying stain to your wood products. Here is a detailed guide to help you achieve the best results, along with some tips and tricks for optimal application.
During Kit Assembly
- Remove Excess Sealant (Conceal) between the Thermologs.
- Optional: Stain between the two Thermologs (joint) with a brush.
- Repair Visible Breaks.
- Brushing: A brushed product cannot be sanded. Use a “Tynex” brush (included in your kit) or an equivalent for brushing.
- Sealant Joints (Adseal): Apply the joints before applying the color.
- Touch-Ups: A gallon of opaque stain will be provided for touch-ups.
- Applying Stain Layers: Apply two coats of stain to the corner moldings, doors, windows, and floor edges.
Color Preparation – 2 Color Coats
- Stir the Gallon of Stain Well with a mixer before application.
- Color Confirmation Test on a piece of wood.
- Stir Again if you haven’t handled the gallon for 1 hour.
- Application: Use a 4-6 inch wide, short-bristled brush. It must be very clean.
Application Details
- Recommended outdoor temperature: Between 10-20 degrees Celsius.
- Avoid Staining a Wall in Direct Sunlight during application.
- Start with the least visible wall, from top to bottom.
- Continuity of Motion: To avoid streaks, maintain as much continuity in the motion as possible when spreading the stain. The product dries quickly, which can cause imperfections.
- Uniform Application: It is important that one person applies the stain to the same wall to prevent color changes.
- Color Coat on Moldings: Apply a color coat on the moldings when the opaque base is dry. Use the same clean brush.
- Corrections: Wait for the layer to dry before making corrections.
- Roof Overhang Decking: Apply a color coat, but no opaque.
- Safety: Wear gloves and the equipment recommended by the supplier (see product sheet).
Tips and Tricks for Proper Stain Application
- Surface Preparation: Ensure the surface is clean and dry before applying the stain. Good preparation is essential for optimal adhesion.
- Use the Right Brush: Use a high-quality brush, preferably nylon/polyester, for an even and streak-free application.
- Apply in Sections: Work in small sections to prevent the stain from drying before spreading it evenly.
- Avoid Windy Days: Wind can cause the stain to dry too quickly and lead to imperfections. Choose a calm day for your project.
- Test the Stain: Always do a stain test on a small area to ensure the color meets your expectations.
- Apply Thin Layers: Apply thin layers of stain. Thick layers can form bubbles and cracks as they dry.
For any questions, please contact your representative or Customer Service.